Honey isn’t just a sweet treat for your tea — it’s also a powerhouse ingredient for natural skincare. Rich in antioxidants, enzymes, and antibacterial properties, honey can help cure acne, as well as hydrate, soothe, and brighten your skin. Here’s how to use it safely and effectively at home.
How to Apply Honey on Skin (Step-by-Step)
1. Choose the Right Honey
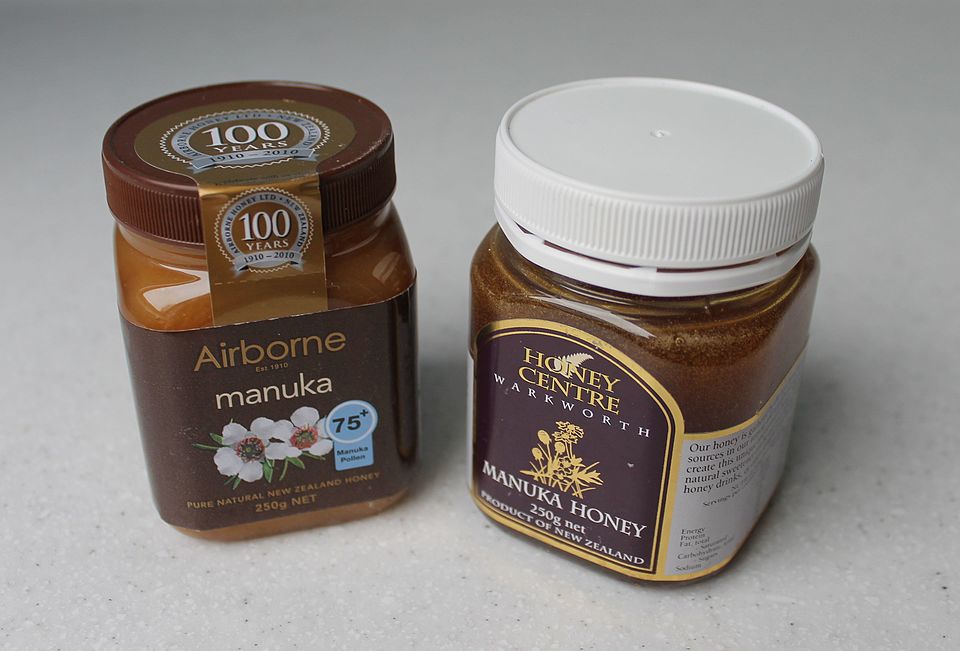
Not all honey is created equal when it comes to skincare. For maximum benefits, reach for raw, organic, or Manuka honey. These types are minimally processed and retain their natural enzymes, antioxidants, and antibacterial compounds — all of which help to nourish and heal your skin.
Avoid commercial or highly processed honey, as it often contains added sugars or preservatives that can irritate the skin or clog pores. Manuka honey, although pricier, is especially powerful for acne-prone or inflamed skin thanks to its high antimicrobial properties.
2. Clean Your Face
Before applying honey, it’s essential to start with a fresh, clean canvas. Wash your face thoroughly with a gentle, non-stripping cleanser suited to your skin type. This step removes dirt, oil, and makeup, allowing the honey to fully absorb and interact with your skin without interference.
After cleansing, gently pat your skin dry with a clean towel. Avoid scrubbing — your skin should be calm and slightly damp, not irritated or raw
3. Apply a Thin Layer
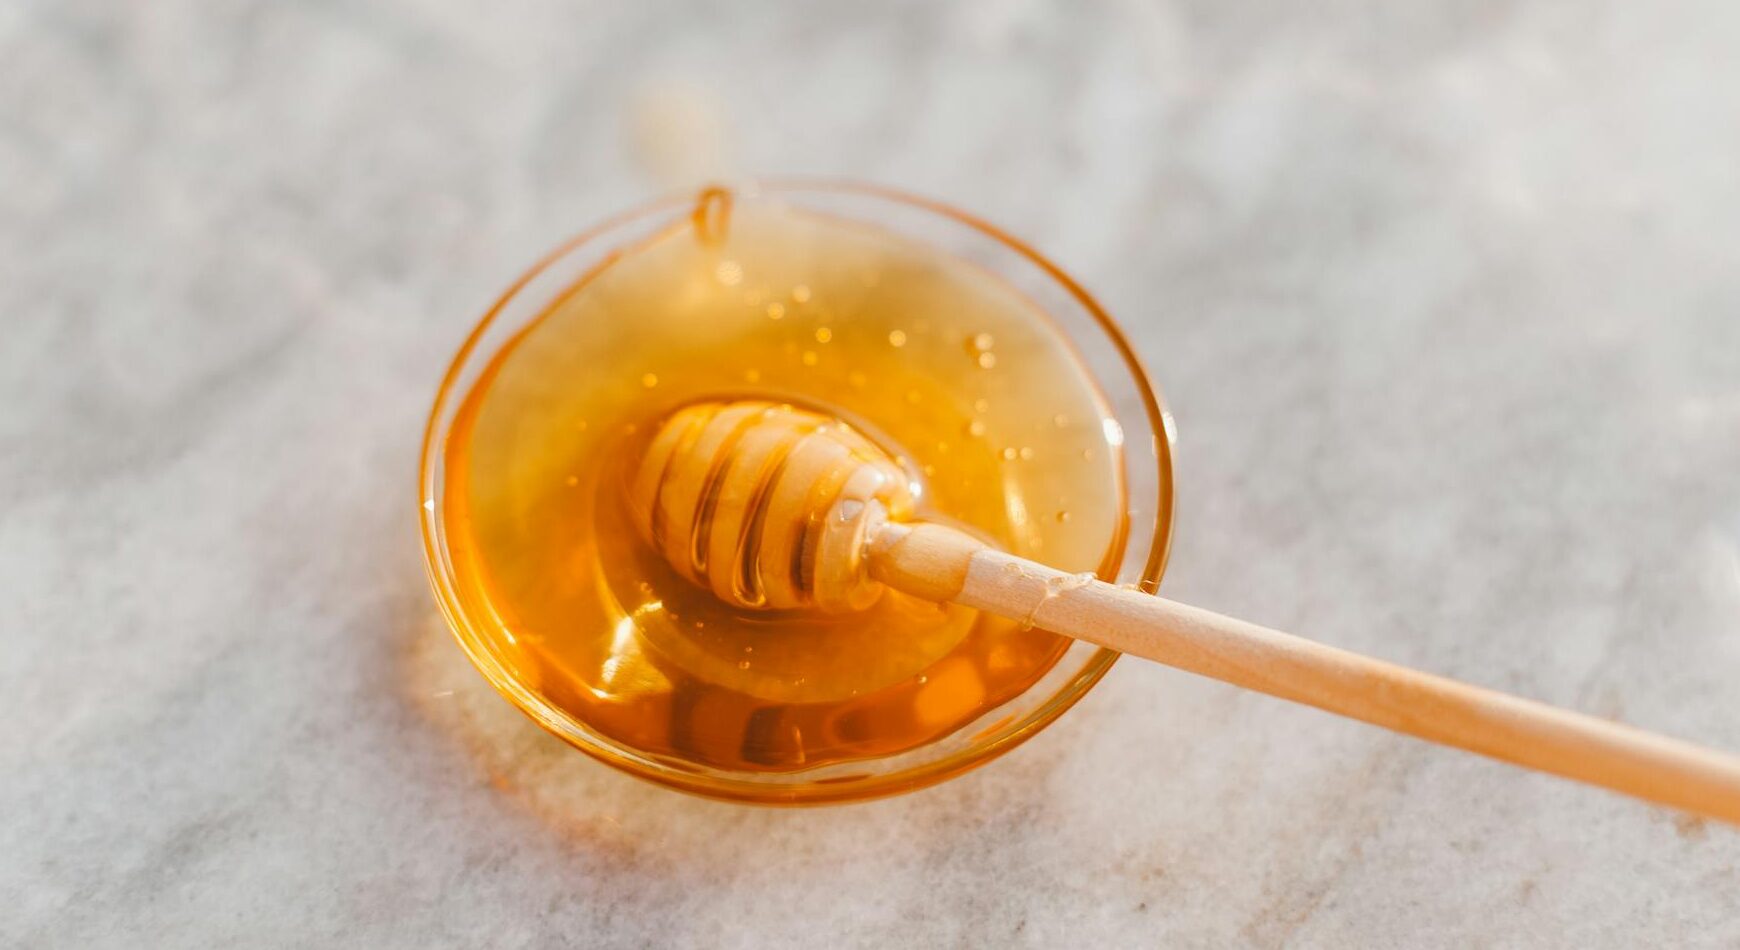
Now that your face is prepped, it’s time to apply the honey. Using clean hands or a soft cosmetic brush, scoop a small amount of honey (about a teaspoon) and spread it evenly over your face.
- Apply gently, using upward strokes to avoid tugging at the skin.
- Keep the layer thin and even — a little goes a long way.
- Be careful to avoid the delicate eye area, as honey can be sticky and difficult to remove near your lashes.
If you want to customize your treatment, you can mix the honey with a few drops of natural ingredients like:
- Tea tree oil (for acne-prone skin)
- Rose water (for calming and toning)
- Oat flour (for extra exfoliation)
4. Let It Sit (15–20 Minutes)
Once applied, leave the honey mask on your skin for about 15 to 20 minutes. This gives the natural enzymes time to:
- Draw moisture into your skin
- Fight bacteria
- Gently exfoliate dead skin cells
As the honey sits, you might notice a slight warming or tightening feeling. This is normal and usually a sign that it’s working its magic.
Want to boost the benefits?
- Add a few drops of lemon juice to help with brightening and oil control (great for oily skin).
- Mix in aloe vera gel if you’re dealing with sensitivity, redness, or sunburn.
5. Rinse Gently
When your time is up, rinse the honey off using lukewarm water. Splash your face or gently massage in small, circular motions to help lift off the honey — this gives your skin a bonus exfoliation.
Avoid using hot water, as it can strip your skin of its natural oils. Once all the honey is rinsed off:
- Pat your face dry with a clean, soft towel.
- Immediately follow with your favorite moisturizer, hydrating serum, or a light face oil to lock in all that moisture and glow.
Your skin should feel soft, plump, and refreshed — with a natural, dewy finish.
…